Saturday 26 July 2014

Summer Manicure


Hey everyone,
                      I hope you all are having a great week. In case you were looking out for a tutorial this week, I did not post one because I am a student and have been busy with exams. However, next week I will be back to the regular schedule with weekly tutorials. Also, I thought I would share the summer manicure I have been rocking for the past week lol.


I used china glaze- electric pineapple and on my ring finger maybelline color show- sequins. 

Thanks for viewing this post and check out my other tutorials :). Feel free to leave a comment and share this page with your family and friends. Look out for a tutorial next week!


See you soon.


Ciao,
Shannon. 

Friday 18 July 2014

Simple Tribal Nail Art Tutorial


Hey everyone,
                       I hope you all are doing great and enjoying summer (or the rain if you're in Trinidad like I am). Today I have a simple tribal design to share. In addition to your polishes you will need a black nail stripper or thin nail art brush. Also, be sure to start off with a base coat to protect your natural nails. Let’s get on to the tutorial!


Step one: Paint all of your nails in a peach colour.


Step two: Using a black stripper create two vertical parallel lines down the nail.


Step three: Next, make a zigzag pattern between the parallel lines using black.


Step four: Using a small dotting make a line of spots on either sides of the design.


Step five: Clean up around your nails to remove any polish from the skin and add your preferred top coat to smooth out design and add shine.


Products used:
Essie: Tart deco
L.A Colours (nail stripper): black
Top Coat- Seche vite fast drying top coat


Thanks for viewing this post and check out my other tutorials :). Feel free to leave a comment and share this page with your family and friends. Look out for another tutorial next week and enjoy what's left of this week!


See you soon.


Ciao,
Shannon. 


Wednesday 9 July 2014

Strawberry Nail Art Tutorial


Hey everyone,
                       I hope you all are having a great week:). Today I have a simple strawberry design to share which is very appropriate for this time of the year. For this tutorial you will need a thin nail art brush and a dotting tool in addition to your polishes. Also, be sure to start off with a base coat to protect your natural nails. Let’s get on to the tutorial!


Step one: Polish all your nails in bright red.


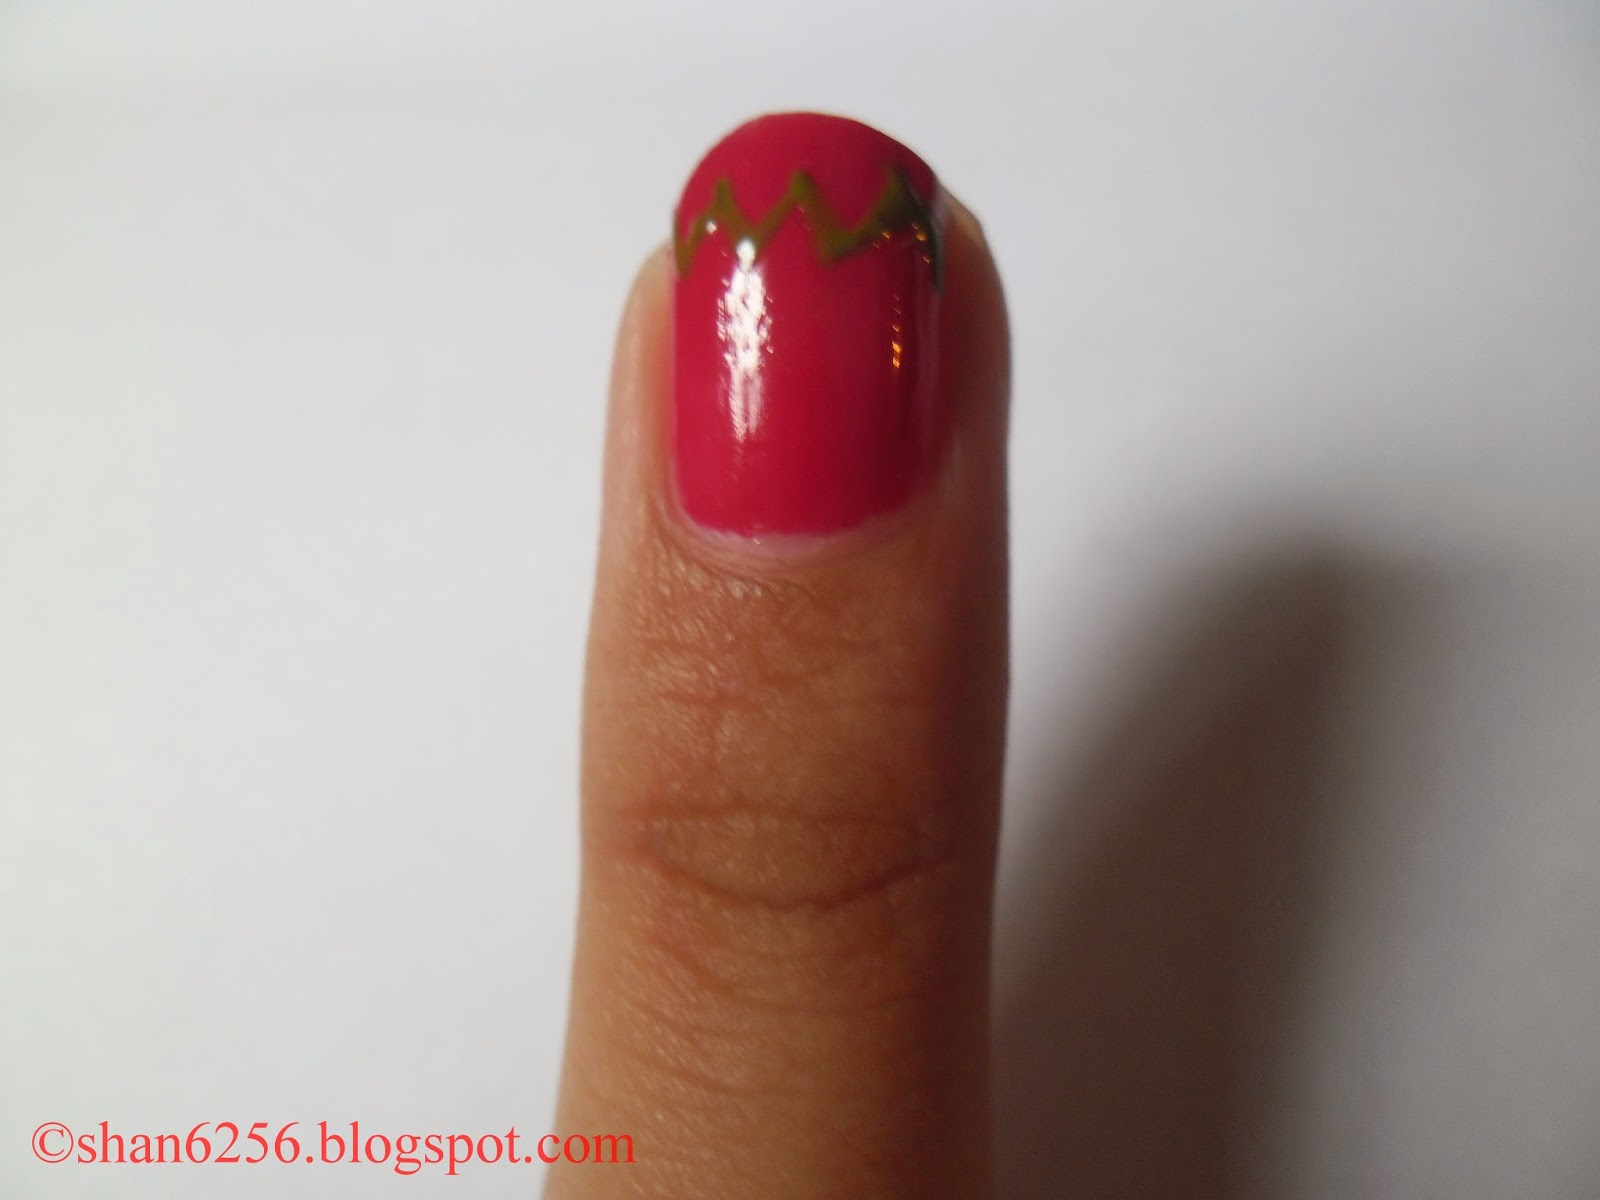
Step two: Using a thin nail art brush and a green polish make a horizontal zig-zag line near the tip of the nail.


Step three: Fill in the top section of the nail with the green polish, this will represent the leaves. Next, using a yellow polish make small spots on the red area of the nail.


Step four: I decided to put the strawberry design on my middle and ring finger. On the other three nails I made some yellow poka-dots using a dotting tool.


Step five: Clean up around your nails to remove any polish from the skin and add your preferred top coat to smooth out design and add shine.


Products used:
Essie: Style hunter
Princessa nail color- item# 7618
Sinful colors: Let’s meet
Top Coat- Seche vite fast drying top coat


Thanks for viewing this post :). Feel free to leave a comment and share this page with your family and friends. Look out for a tribal inspired tutorial next week, enjoy your weekend!


See you soon.


Ciao,
Shannon.


Friday 4 July 2014

Half Moon/ Matte Nail Art Tutorial


Hey everyone,
                      I hope you all are having a great week :).  Today I have an easy and edgy nail art tutorial to share. In addition to your polishes you will need a nail art brush and a matte top coat instead of the fast drying type. Also, be sure to start off with a base coat to protect your natural nails. Let’s get on to the tutorial!


Step one: Paint all your nails using a metallic silver polish.


Step two: Using a thin nail art brush dipped in black polish, draw a semi-circle directly above the cuticle area. 


Step three: Fill in the area above the semi- circle using black polish. (You can stop at this step if you like)


Step four: Apply a matte top coat to the area of the nail painted in black. Also, you can add a stud to the middle finger nail. Clean up around the nails and you’re done. 


Products used:
Essie: Matte top coat
L.A girl metal: Obsidian
Slick: Disco ball 52


Thanks for viewing this post :). Feel free to leave a comment and share this page with your family and friends. Look out for another tutorial next week, enjoy your weekend!


See you soon.


Ciao,
Shannon.