Hey everyone,
I hope you all are having a great week:). Today I have a simple strawberry design to share which is very appropriate for this time of the year. For this tutorial you will need a thin nail art brush and a dotting tool in addition to your polishes. Also, be sure to start off with a base coat to protect your natural nails. Let’s get on to the tutorial!
Step one: Polish all your nails in bright red.
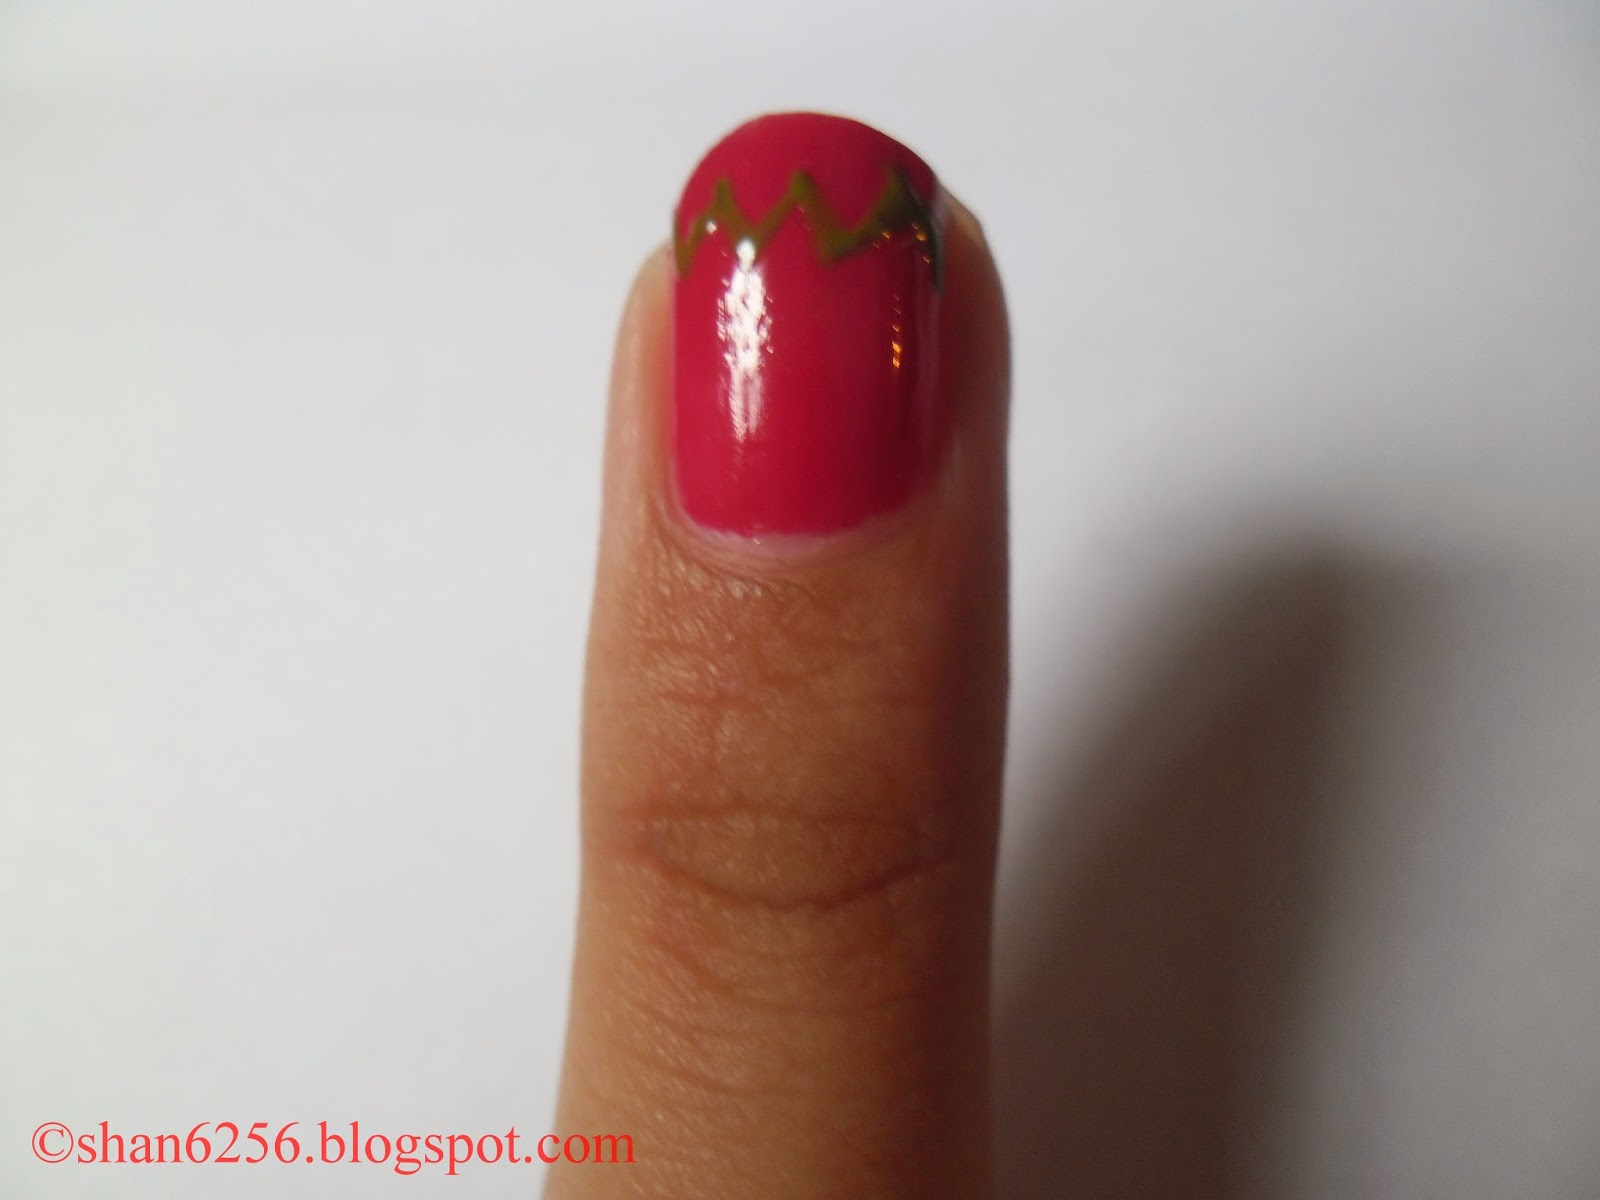
Step two: Using a thin nail art brush and a green polish make a horizontal zig-zag line near the tip of the nail.
Step three: Fill in the top section of the nail with the green polish, this will represent the leaves. Next, using a yellow polish make small spots on the red area of the nail.
Step four: I decided to put the strawberry design on my middle and ring finger. On the other three nails I made some yellow poka-dots using a dotting tool.
Step five: Clean up around your nails to remove any polish from the skin and add your preferred top coat to smooth out design and add shine.
Products used:
Essie: Style hunter
Princessa nail color- item# 7618
Sinful colors: Let’s meet
Top Coat- Seche vite fast drying top coat
Thanks for viewing this post :). Feel free to leave a comment and share this page with your family and friends. Look out for a tribal inspired tutorial next week, enjoy your weekend!
See you soon.
Ciao,
Shannon.


No comments:
Post a Comment