Friday 31 October 2014

October Manicures


Hey everyone,
                       I hope you all are doing great :). Today, I have my October manicures to share. During this month I experimented a bit with caviar beads and stamping plates and I was really satisfied with the results. I also did some simple looks so there's a little something for everyone.  Let’s get on to the manicures enjoy !


Manicure #1


Products used:
China Glaze: Swanky silk
Ciate (caviar beads): Cookies & cream
Essie: Topless and barefoot


Manicure #2


Products used:
Essie: Fiji
Essie: Mint candy apple
Essie: Matte about you top coat
Sally Hansen: Vanity flair
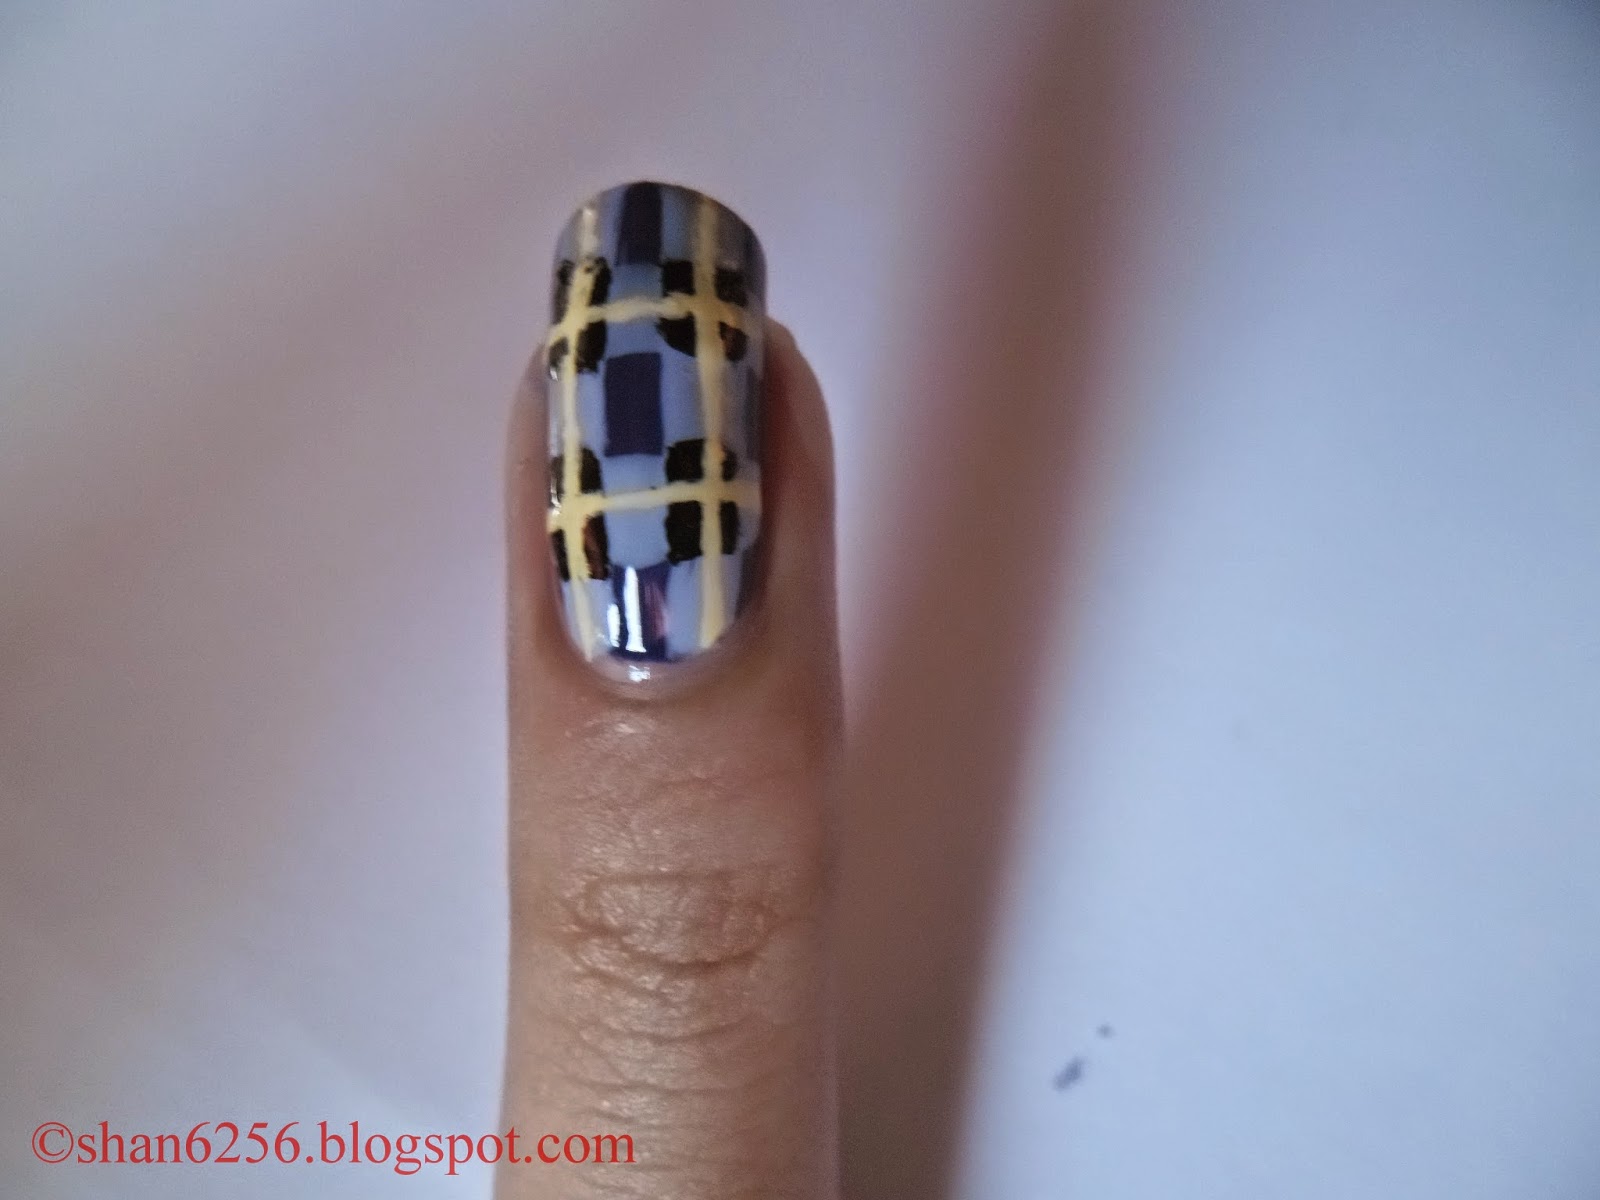


Manicure #3


Products used:
Essie: For the twill of it
Orly: Rock solid


Manicure #4


Products used:
China Glaze: In a lily bit
Essie: Cute as a button
Sally Hansen: Green with envy
Sinful Colors: Snow me white


Manicure #5


Products used:
L'oreal: VIP status
Shany: Stamping plate
Slick: Disco ball 52


Manicure #6


Products used:
China Glaze: Flip flop fantasy
F21: Black & white glitter


Thanks for viewing this post :). Feel free to leave a comment and share this page with your family and friends. Look out for another upload next week, enjoy your weekend!


See you soon.


Ciao,
Shannon


Tuesday 21 October 2014

Plaid Inspired Nail Art Tutorial


Hey everyone,
                        I hope you all are doing well :). Its been a while since I've uploaded a tutorial so today I have a simple plaid design to share. For this tutorial you will need a thin nail art brush in addition to your polishes. Also, be sure to start off with a base coat to protect your natural nails. Let’s get on to the tutorial!


Step one: I began by painting three of my nails white and two in dark purple. (The plaid design will be on the nails painted in purple)


Step two: Next, using a light purple polish make two thick vertical lines along the nail. This can be done using the actual nail polish brush.


Step three: Make two thick horizontal lines over the lines previously made in step two.


Step four: In the areas where the vertical and horizontal lines meet, create black squares.


Step five: Next, using a thin nail art brush and yellow polish create thin vertical and horizontal lines over the black squares and light purple sections.


Step six: Clean up around your nails to remove any polish from the skin and add your preferred top coat to smooth out design and add shine. 
*As you can see on the nails polished in white I drew a couple of stripes. 


Products used:
L.A Colors (nail stripper): black
Opi: Do you have this color in stockholm?
Orly: Lemonade
Sally Hansen: White on
Sinful Colors- Candy coated
Top coat- Seche vite fast drying top coat


Thank you for viewing this tutorial and check out my other posts on this blog. Feel free to leave a comment and share this page with your family and friends. Also, look out for another tutorial soon. Enjoy your weekend :D !


See you soon.


Ciao,
Shannon.