Hey everyone,
I hope you all are doing well :). Its been a while since I've uploaded a tutorial so today I have a simple plaid design to share. For this tutorial you will need a thin nail art brush in addition to your polishes. Also, be sure to start off with a base coat to protect your natural nails. Let’s get on to the tutorial!
Step one: I began by painting three of my nails white and two in dark purple. (The plaid design will be on the nails painted in purple)

Step two: Next, using a light purple polish make two thick vertical lines along the nail. This can be done using the actual nail polish brush.

Step three: Make two thick horizontal lines over the lines previously made in step two.

Step four: In the areas where the vertical and horizontal lines meet, create black squares.

Step five: Next, using a thin nail art brush and yellow polish create thin vertical and horizontal lines over the black squares and light purple sections.
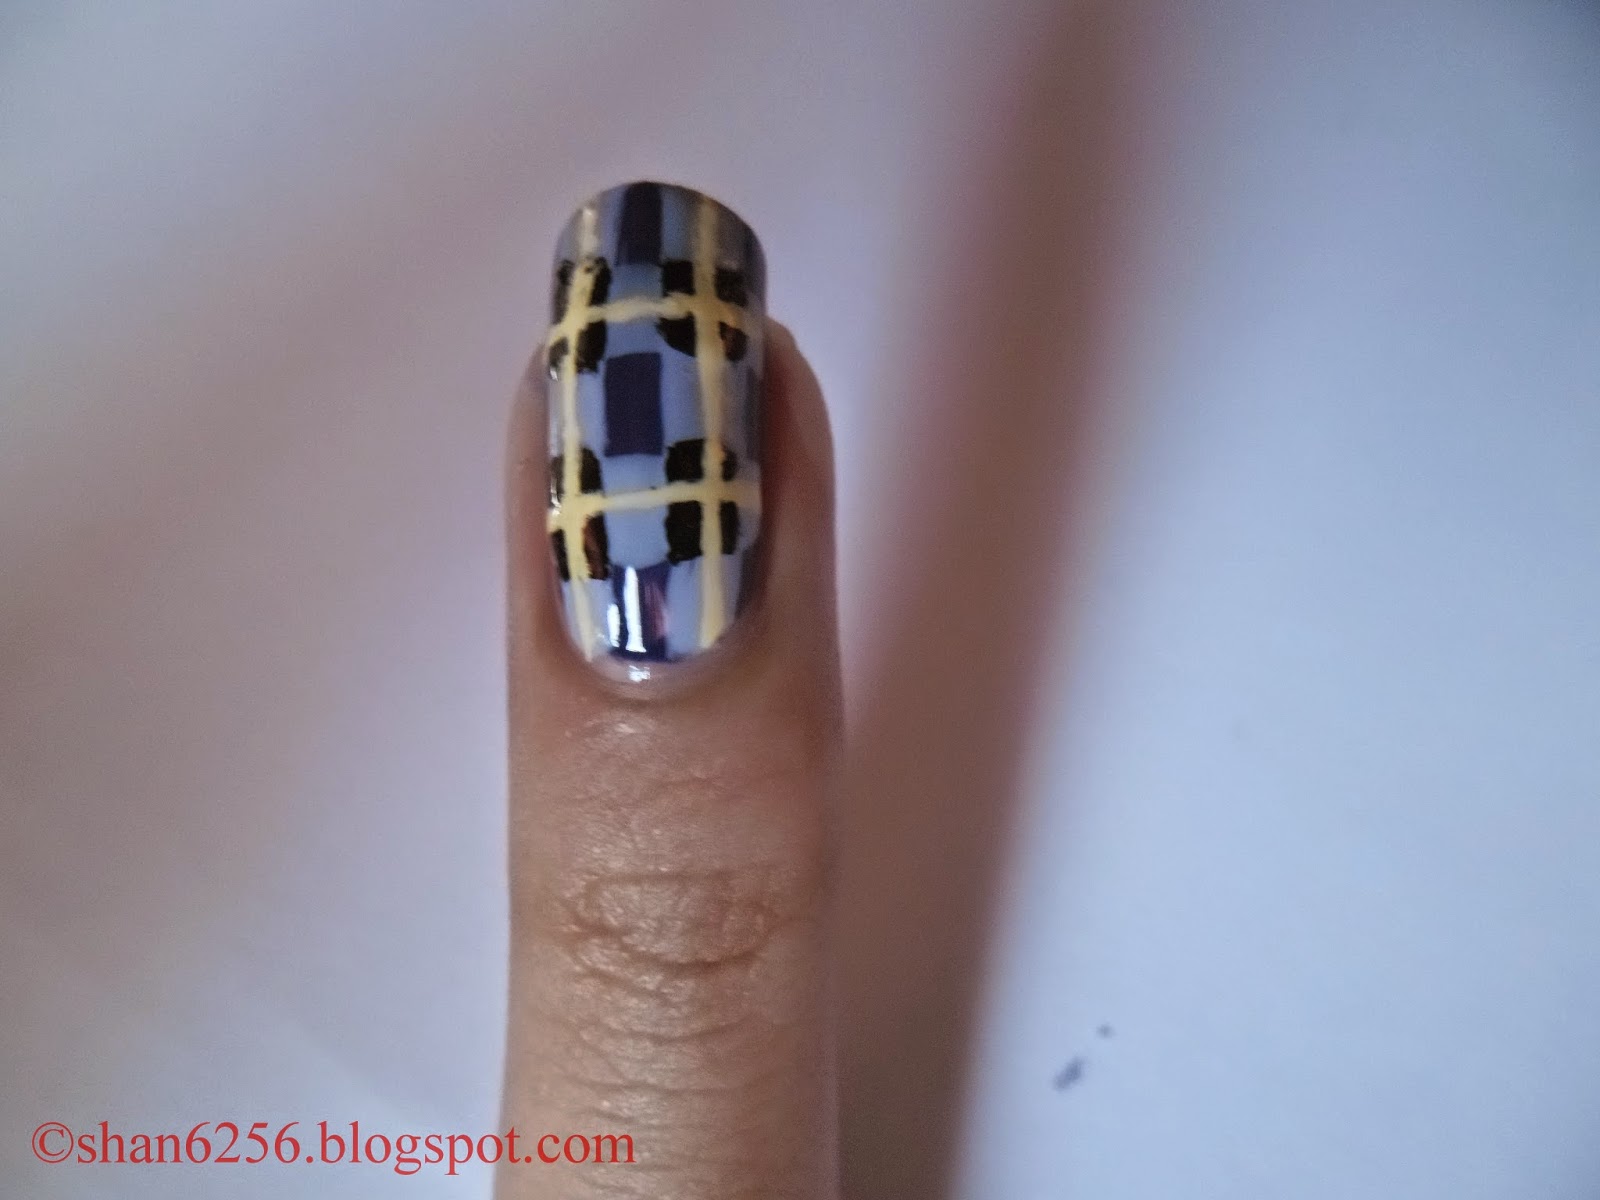
Step six: Clean up around your nails to remove any polish from the skin and add your preferred top coat to smooth out design and add shine.
*As you can see on the nails polished in white I drew a couple of stripes.


Products used:
L.A Colors (nail stripper): black
Opi: Do you have this color in stockholm?
Orly: Lemonade
Sally Hansen: White on
Sinful Colors- Candy coated
Top coat- Seche vite fast drying top coat
Thank you for viewing this tutorial and check out my other posts on this blog. Feel free to leave a comment and share this page with your family and friends. Also, look out for another tutorial soon. Enjoy your weekend :D !
See you soon.
Ciao,
Shannon.
No comments:
Post a Comment