Hey everyone,
Welcome back and seasons greetings to all my viewers. Today, I have another Christmas tutorial to share; it is inspired by the lights we string every year around the tree. For this design you will need a couple of different colours as well as a nail art brush. Also, be sure to start off with a base coat before applying polish to protect your natural nails. Let’s get on to the tutorial!
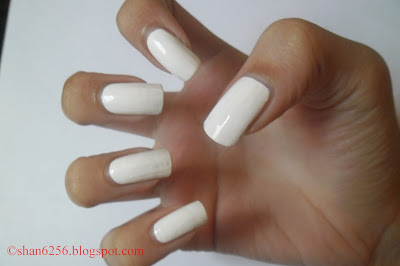
Step one: Paint all nails in a white polish.
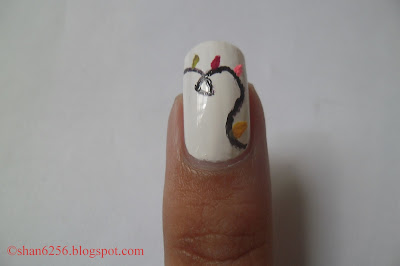
Step two: Across each nail create curved lines and loops (this will represent the natural way in which the cord tangles) using a thin nail brush and black polish.
Step three: Next, along each curved line create very small oval shapes in different colours to act as the actual lights (three to four 'lights' per nail). This can be done in the direction shown in the photo or beneath the line.
Step four: Clean up around your nails to remove any polish from the skin and add your preferred clear top coat to smooth out design and add shine.
Products used:
China Glaze: Shocking pink
Opi: Lincoln park after dark
Opi: Vodka and Caviar
Rimmel London: Sunny days
Sally Hansen: Green with envy
Sinful colors: Snow me white
Thank you for viewing this post and check out my other posts on this blog. Feel free to leave a comment and share this page with your family and friends. Also, look out for a tutorial next week. Enjoy your week and remember to keep smiling :). Happy Holidays!!
Seen you soon.
Ciao,
Shannon.


No comments:
Post a Comment