Thursday 29 May 2014

Leopard print nail art tutorial


Hello everyone,
                        I hope you all are having a great week and sorry about the late post, life has been busy. As promised in my previous post this tutorial is a simple leopard print design. The tools you will need include a toothpick and your polishes. Feel free to change up the colours in your own re-creations and omit the accent nail if you like. Also, be sure to start off with a base coat to protect your natural nails. Lets get on to the tutorial!


Step one: Paint all of your nails in a mint green colour except for the ring finger which I opted for a pink glitter mix.


Step two: Cut one tip of a toothpick to create a flat edge. Use this edge to make spots on the nail using a pink polish. The spots don’t have to be perfect.


Step three: Next, using a black polish and the pointed tip of the toothpick create brackets, circles and ‘C’ shapes around each spot. Do this in a stippling motion so the print looks more authentic. Also, you can place black dots in the blank spaces of the print. 


Step four: Clean up around your nails to remove any polish from the skin and add your preferred top coat to smooth out design and add shine.


Products used:
China glaze: Pom pom
L.A girl metal: Obsidian
Orly: Gumdrop
Opi: Pink-ing of you
Top Coat- Seche vite fast drying top coat


Thanks for checking out this tutorial and let me know if you liked the design. Feel free to leave a comment and share this page with your family and friends. Check out my page next week for another post. Enjoy the rest of your week :) .


See you soon.

Ciao,
Shannon. 


Wednesday 21 May 2014

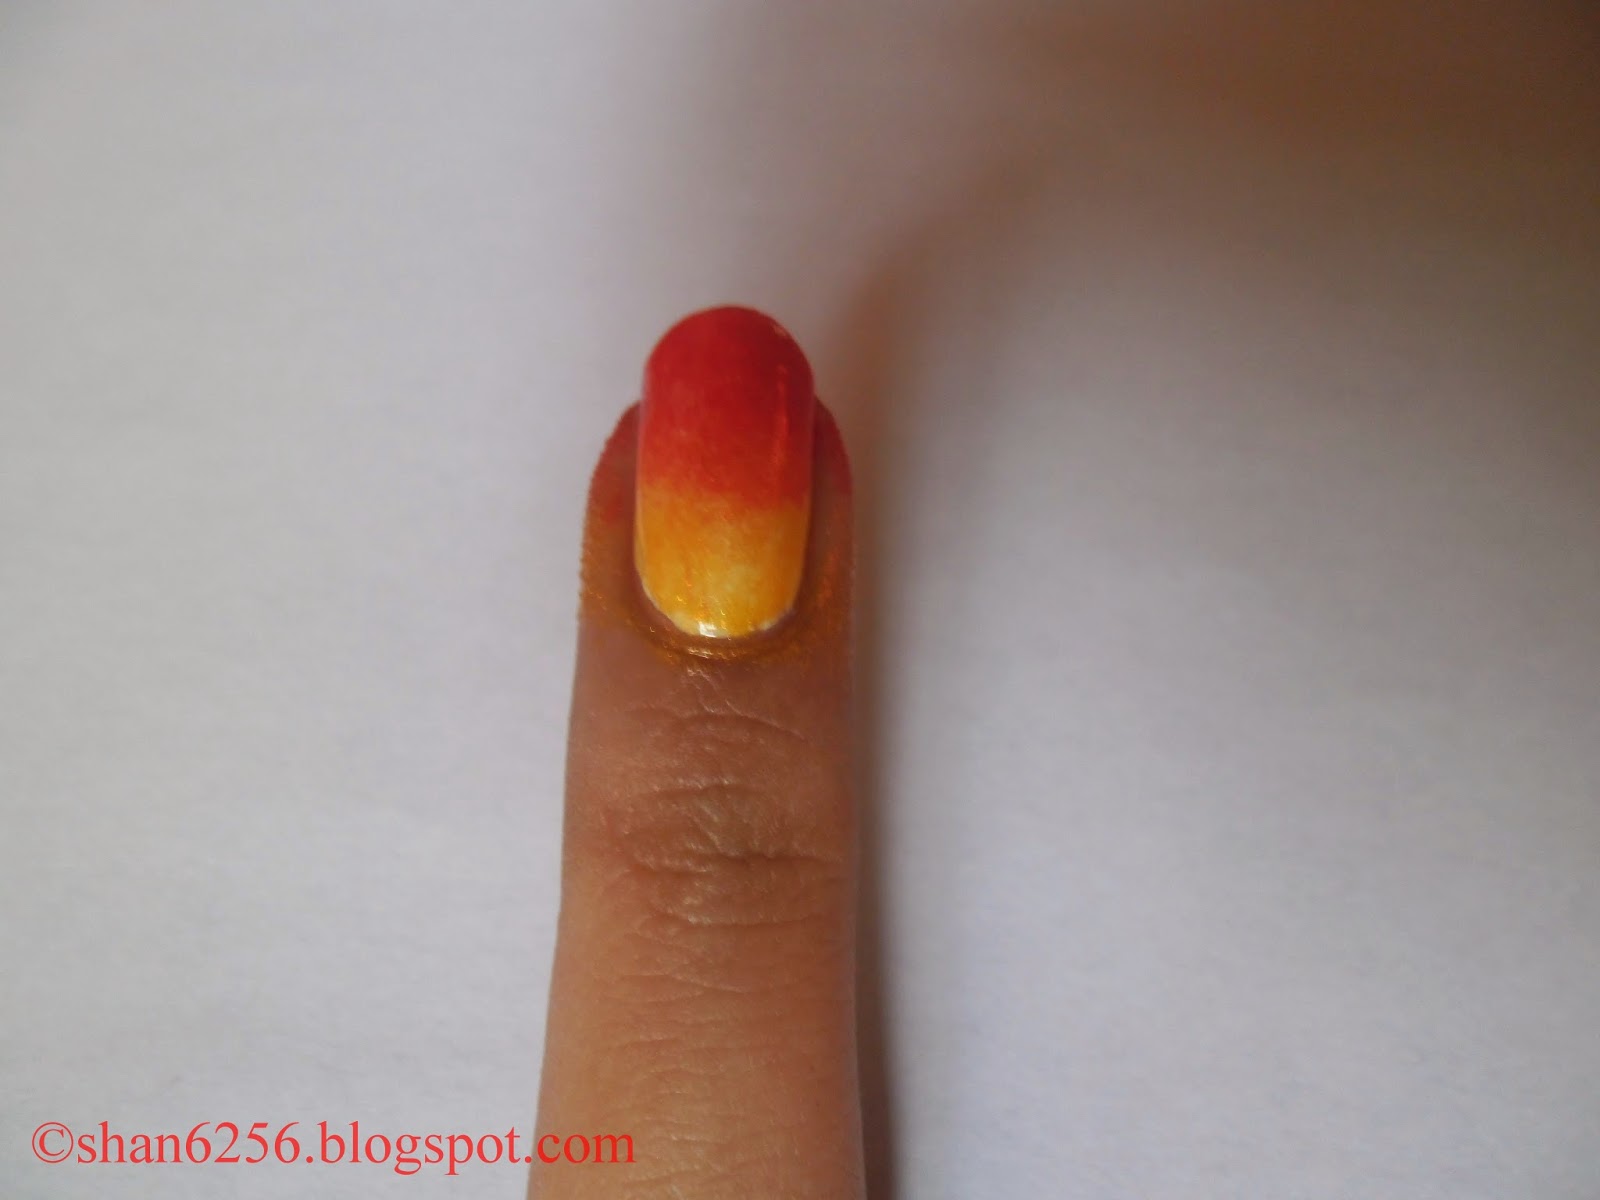
Ombré nail art tutorial


Hello everyone,
                         I hope you all are enjoying your week :). This tutorial features a simple two colour Ombré design. However, you can use more colours if you like but for beginners I suggest starting off with two. In addition to the polishes used you will need a make-up sponge to create the effect, polish remover and cotton buds to clean up around the nail as it will get messy. Feel free to change the colours used in your own creations. Also, be sure to start off with a base coat to protect your natural nails. Lets get on to the tutorial!


Step one: Polish all of your nails white.


Step two: Paint an orange and yellow stripe onto a make-up sponge as seen in the photo. Ensure enough polish is placed on the sponge in order to cover the entire nail.


Step three: In a dabbing motion sponge the colours onto the nail. Most likely you will need to place another coat of polish on the sponge to dab onto nail to ensure it is opaque. 
*This step is required for each individual nail.

After dabbing one coat of polish onto nail


After dabbing two coats of polish onto nail


Step four: Add your preferred top coat immediately after sponging on the colours as it helps to blend them. Ensure you thoroughly clean up around the nails as this technique is quite messy.


Products used:
Essie- Meet me at sunset
Sally Hansen- White on
Sinful Colors- Let’s meet
Top Coat- Seche vite fast drying top coat


Thank you for viewing this blog post and let me know if it was helpful. Feel free to leave a comment and share this page with your family and friends. Check out my page next week for a leopard print design. Have a great day :) .


See you soon.

Ciao,
Shannon. 


Wednesday 14 May 2014

Colourful wave nail art tutorial


Hello everyone,
                        I hope you are all doing great :). This design came about randomly while I was trying out some new polishes. I got many compliments on it so I decided I would share it with you all. For this tutorial all you will need are the nail polishes and a white nail stripper(optional). Feel free to change the colours used in your own creations. Also, be sure to start off with a base coat to protect your natural nails. Lets get on to the tutorial!


Step one: Paint all of your nails in a bright yellow polish.


Step two: On each individual nail create a wave across the nail with an orange polish. The wave can be made with the polish brush approximately two thirds down the nail. Fill in the area above the wave made.


Step three: Next, repeat the second step but this time using a navy blue polish. This wave should be made one third down the nail. 


Step four: This step is optional; I decided to add white curved lines to the sections of the nail where two colours met. 


 Step five: Clean up around your nails to remove any polish from the skin and add your preferred top coat to smooth out design and add shine.


Products used:
Art club nail stripper: white
China glaze: man hunt
F21 nail polish: neon coral
Orly: lemonade
Top Coat- Seche vite fast drying top coat


Thanks for checking out my blog post and I hope you all try out the design. Feel free to leave a comment and share this page with your family and friends. Check out my page next week for another tutorial. Enjoy the rest of your week!


See you soon.

Ciao,
Shannon.


Thursday 8 May 2014

Negative Space nail art tutorial


Hello everyone,
                        I do hope everyone is having a great week :). This post highlights the steps in creating the negative space manicure that was seen on the runway at New York fashion week. However, I will be adding my own twist to this design. For this tutorial you will need regular tape to create the space in addition to your polishes. Feel free to change the colours used in your own creations. Also, be sure to start off with a base coat to protect your natural nails. Lets get on to the tutorial!


Step one: At this stage you have the option of leaving your nails clear or adding one coat of a sheer nude/beige colour. I used a sheer nude to add some extra gloss to my nails.


Step two: Cut out ten strips of tape (one is to be placed on each finger). Each cut out should have a width that is decreasing in size from one end to the other.


Step three:  Ensure that your nail is completely dry then place a strip of tape in a diagonal direction from the left of the nail to the right. Next, paint the uncovered area to the top of the nail in a bright blue and the uncovered area below the tape in a metallic blue.


Step four: Quickly remove the tape before the polish dries. 


Step five: Clean up around your nails to remove any polish from the skin and add your preferred top coat to smooth out design and add shine.


Products used:
F21 nail polish: Baby blue
Essie: Blue rhapsody 
Top Coat- Seche vite fast drying top coat


Thank you for viewing my blog post and I hope you all try out this simple yet classy design. Regular tape is a helpful tool when doing nail art and can be used to create countless designs. Feel free to leave a comment and share this page with your family and friends. Check out my page next week for another tutorial. Enjoy the rest of your week!


See you soon.

Ciao, 
Shannon. 


Saturday 3 May 2014

Dripping paint nail art tutorial


Hello everyone,
                         I hope you all are doing well :). This post entails a step by step tutorial on how to create a dripping paint nail art design. To create this design a dotting tool/ tooth pick will be needed in addition to your polishes. Feel free to change up the colours in your recreations. Also, be sure to start off with a base coat to protect your natural nails. Lets get on to the tutorial!


Step one: Paint all of your nails in a bright green polish and ensure it dries completely.


Step two: To create the illusion of dripping paint make a sizeable, pink spot using a dotting tool/ tooth pick. Then lightly drag the polish to the tip of the nail while it is still wet. The line connecting the dot to the tip of the nail does not have to be straight.


Step three: Next, make drips of different sizes on each of the nails. You can make two to four drips per nail depending on your nail size. Go over any drips that may not be opaque enough.


Step four: In order to connect each drip, fill in the tip of the nail with the pink polish brush. Apply the polish in such a way to create curved edges that join each drip along the nail.


Step five: Clean up around your nails if any polish got onto the skin then add your preferred top coat to smooth out design and add shine.


Products used:
Princessa nail color- item# 7618
L.A Colors- French nails purple
Top Coat- Seche vite fast drying top coat


Thank you for viewing this post and I hope you all try out this tutorial :). Feel free to leave a comment and share this page with your family and friends. Look out for another tutorial next week. Have a great weekend and enlightening week ahead. 

See you soon.

Ciao,
Shannon.