Hello everyone,
I hope you all are enjoying your week :). This tutorial features a simple two colour Ombré design. However, you can use more colours if you like but for beginners I suggest starting off with two. In addition to the polishes used you will need a make-up sponge to create the effect, polish remover and cotton buds to clean up around the nail as it will get messy. Feel free to change the colours used in your own creations. Also, be sure to start off with a base coat to protect your natural nails. Lets get on to the tutorial!
Step one: Polish all of your nails white.

Step two: Paint an orange and yellow stripe onto a make-up sponge as seen in the photo. Ensure enough polish is placed on the sponge in order to cover the entire nail.

Step three: In a dabbing motion sponge the colours onto the nail. Most likely you will need to place another coat of polish on the sponge to dab onto nail to ensure it is opaque.
*This step is required for each individual nail.
 |
| After dabbing one coat of polish onto nail |
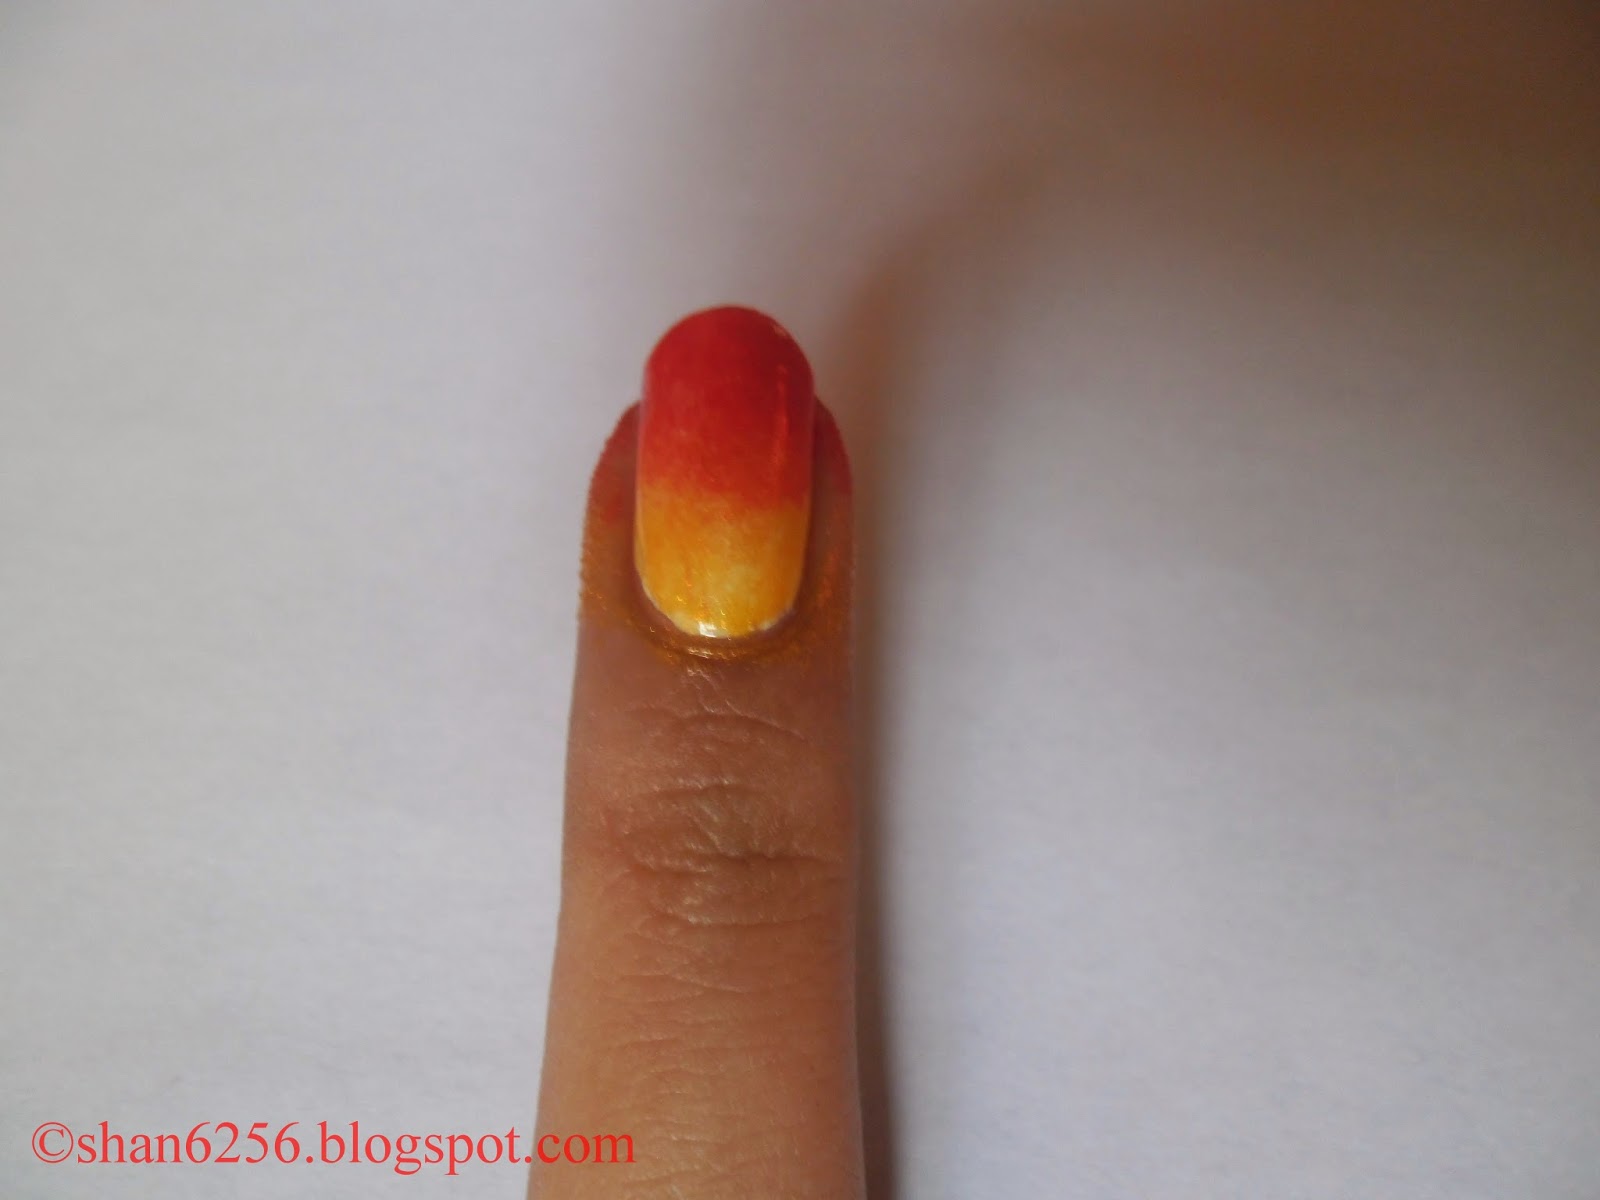 |
| After dabbing two coats of polish onto nail |
Step four: Add your preferred top coat immediately after sponging on the colours as it helps to blend them. Ensure you thoroughly clean up around the nails as this technique is quite messy.


Products used:
Essie- Meet me at sunset
Sally Hansen- White on
Sinful Colors- Let’s meet
Top Coat- Seche vite fast drying top coat
Thank you for viewing this blog post and let me know if it was helpful. Feel free to leave a comment and share this page with your family and friends. Check out my page next week for a leopard print design. Have a great day :) .
See you soon.
Ciao,
Shannon.
See you soon.
Ciao,
Shannon.
No comments:
Post a Comment